
Indulging in a slice of Oreo Icebox Cake is like taking a delightful trip down memory lane. This no-bake dessert brings together the iconic flavor of chocolatey cookies and creamy layers effortlessly, making it a perfect treat for any occasion. What’s more, the ease of preparation is simply irresistible, as it requires minimal effort yet delivers maximum enjoyment.
Whether you’re hosting a summer gathering or looking for a quick weeknight dessert, this Oreo-inspired treat will surely impress your guests. With its rich, velvety texture and a hint of nostalgia, the Oreo Icebox Cake stands out as a timeless favorite that everyone can enjoy. Get ready to learn how to whip up this delectable dessert and delight your family and friends!
Why This No-Bake Dessert is a Favorite:
The allure of an Oreo Icebox Cake lies in its effortless elegance and rich flavor, making it a delightful addition to any gathering. This no-bake dessert is perfect for hot summer days when you want something cool and refreshing without spending hours in the kitchen. Layered with creamy filling and crunchy crushed Oreos, each bite offers a heavenly combination of textures that leaves everyone craving more.
Moreover, this icebox cake is incredibly versatile. Similar to other layered desserts like strawberry shortcake, you can swap out the Oreos for different cookies to suit your taste. Imagine using graham crackers or even chocolate wafers to create unique variations of this classic treat. Preparation is straightforward—simply layer cookies and filling, refrigerate, and enjoy. Perfect for parties, potlucks, or a sweet indulgence at home, the Oreo Icebox Cake truly shines as a crowd-pleaser.
Ingredients:
To create a delicious Oreo Icebox Cake, gather the following ingredients:
- 2 1/2 packages Double Stuff Oreo cookies (15 oz each)
- 3 cups heavy whipping cream
- 3 tablespoons powdered sugar
- 2 teaspoons vanilla extract
- Crushed Oreo cookies, chocolate chips, caramel, or nuts for topping (optional)
For this recipe, a classic icebox cake serves as a great inspiration. The layers of creamy whipped goodness and chocolatey cookie crunch create a heavenly dessert perfect for any occasion.
Preparation Tips
It’s essential to chill your mixing bowl and beaters for optimal whipped cream texture. After beating the heavy cream with powdered sugar and vanilla until medium-stiff peaks form, layer the cookies in a 13×9-inch baking dish. Complement the cookie layers with whipped cream, repeating until you’ve reached your desired height. Don’t forget to cover and refrigerate for at least six hours, or overnight for the best taste.
Finally, before serving your scrumptious dessert, crown it with crushed cookies or your choice of toppings for an extra touch of flair.
How to Prepare Oreo Icebox Cake:
To make an irresistible Oreo Icebox Cake, start by whipping together 3 cups of heavy cream, 3 tablespoons of powdered sugar, and 2 teaspoons of vanilla extract. Beat these ingredients in a chilled mixing bowl until medium to stiff peaks form—this should take about 7-9 minutes. Next, in a 13×9 baking dish, create a single layer of Oreo cookies. If necessary, break the cookies to fit snugly. Then, generously spread half of your whipped cream mixture on top. Repeat this layering process, finishing with a final layer of whipped cream.
Cover your cake and refrigerate for at least 6 hours, preferably overnight, to allow the cookies to soften perfectly. Just before serving, sprinkle with crushed Oreo cookies or add chocolate chips, caramel, or nuts for extra texture. For a similar no-bake dessert idea, check out this delicious No-Bake Cheesecake recipe!
For more tips and details on making the best Oreo Icebox Cake, you can also visit Sugar & Sparrow. Enjoy this creamy, crunchy delight that everyone will adore!
Creative Variations of Oreo Icebox Cake:
One of the best aspects of the Oreo Icebox Cake is its versatility. You can easily customize it to suit your taste or occasion. For a fruity twist, add layers of fresh strawberries or bananas. Slice them thinly and intersperse them between the Oreo layers. This will not only enhance the flavor but also add a delightful color contrast. Another option is to incorporate flavored whipped cream, such as vanilla or chocolate, for an additional flavor kick.
If you want a more decadent treat, consider drizzling chocolate ganache over the top before chilling. This adds a rich layer of sweetness that complements the creaminess of the cake. For a lighter dessert, you might enjoy trying this with angel food cake instead of Oreos. For more delicious no-bake ideas, check out these delightful No-Bake Cheesecake recipes. With these variations, you can make your Oreo Icebox Cake a unique masterpiece every time!
Storage Tips for Oreo Icebox Cake:
To keep your Oreo Icebox Cake fresh and delicious, proper storage is essential. First, ensure the cake is completely chilled before covering it. If you’ve made a large batch, slice it into individual portions for easy access. Wrap each slice in plastic wrap or place it in airtight containers to maintain moisture. Store the cake in the refrigerator, where it can last for about 4-5 days.
For longer storage, consider freezing the Oreo dessert. To do this, wrap the entire cake or individual portions tightly in foil and then place them in freezer bags. This can extend its shelf life for up to three months. When you’re ready to enjoy it, simply thaw it in the fridge overnight.
If you’re looking for other delightful desserts that are easy to make and store, try creating a no-bake cheesecake. This treat offers similar flavors to your icebox cake but brings a refreshing twist. Enjoy your dessert, whether fresh or frozen, for any occasion!
Serving Suggestions for Oreo Icebox Cake:
To elevate your Oreo Icebox Cake, serve it with a dollop of whipped cream and chocolate shavings. For an added touch, pair it with strawberry shortcake for a delightful contrast of flavors. This no-bake dessert is perfect for summer gatherings, picnics, or as a sweet treat after any meal!
Frequently Asked Questions (FAQs):
What is an Oreo Icebox Cake?
An Oreo Icebox Cake is a no-bake dessert that layers creamy whipped filling and chocolatey Oreo cookies, creating a delightful treat that’s both simple and satisfying. The cake sets in the refrigerator, allowing the flavors to meld beautifully.
How long does it take to make Oreo Icebox Cake?
Preparing this delicious dessert usually takes about 20-30 minutes. However, you should refrigerate it for at least 4 hours, or ideally overnight, to allow the cookies to soften and the flavors to develop.
Can I customize my Oreo Icebox Cake?
Absolutely! You can experiment with different flavors by using flavored whipped cream or mixing in additional ingredients like crushed candy or fruits. The recipe is versatile enough to cater to individual preferences.
What should I serve with Oreo Icebox Cake?
This decadent cake pairs wonderfully with a scoop of vanilla ice cream or fresh fruits. For an extra layer of flavor, consider drizzling chocolate sauce or caramel over the top.
How do I store leftover Oreo Icebox Cake?
Store any leftovers in an airtight container in the refrigerator for up to five days. The cake maintains its flavor and texture well, thanks to the layering technique.
Are there similar desserts I can try?
If you enjoy this delightful cake, you might love a classic no-bake cheesecake or even a strawberry shortcake variant, like Strawberry Shortcake with Biscuits. All provide a rich, satisfying dessert experience.
Print
Oreo Icebox Cake: A Decadent Treat You’ll Love
- Total Time: 50
- Yield: 8 servings 1x
Description
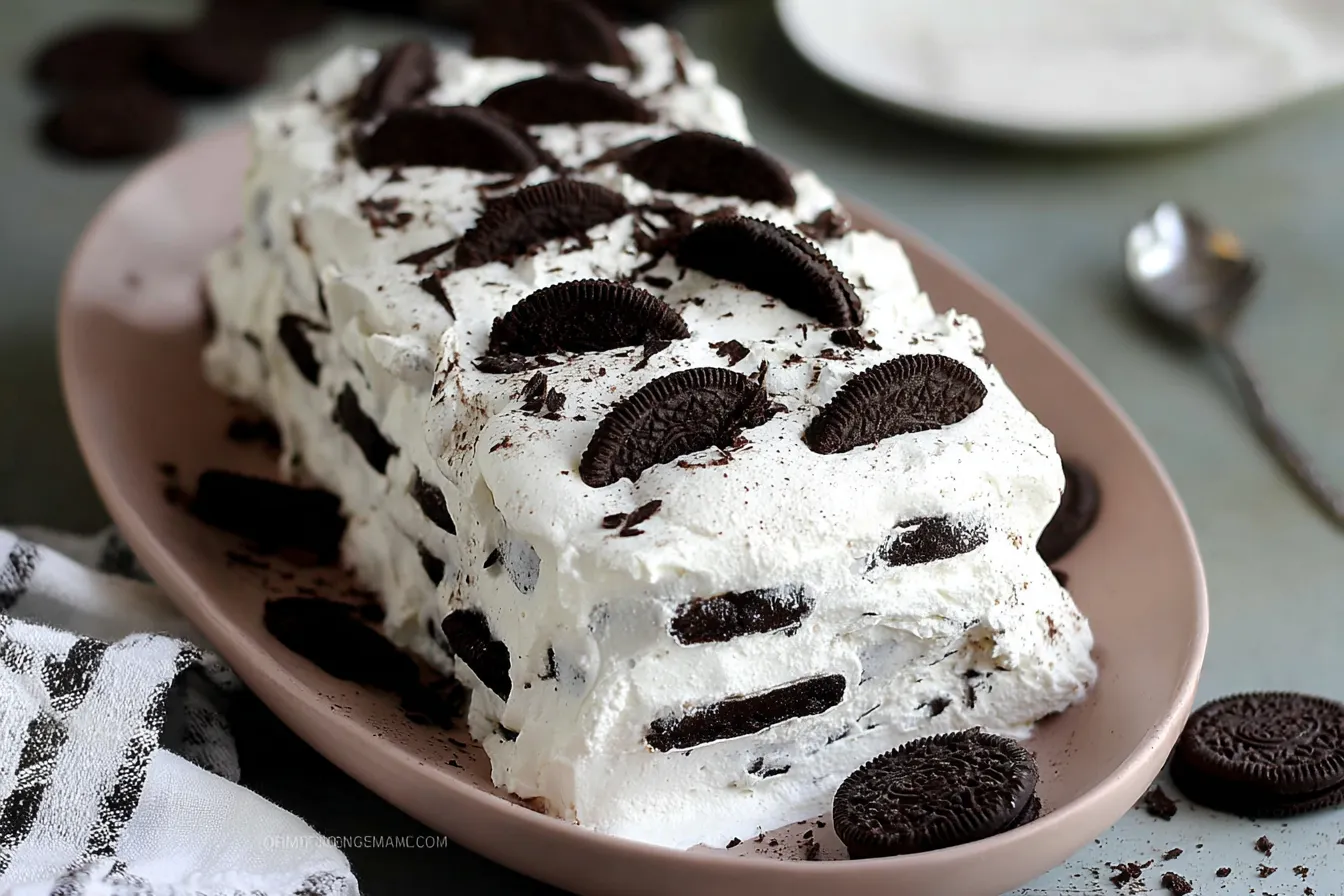
This delightful Oreo Icebox Cake is a no-bake dessert that layers creamy whipped cream and crunchy Oreos for a blissfully sweet treat.
Ingredients
3 packages Double stuff Oreo cookies 15 oz each
3 cups heavy whipping cream
3 tablespoons powdered sugar
2 teaspoons vanilla
Crushed cookies chocolate chips
caramel or nuts for topping (optional)
Instructions
- In a large mixing bowl, beat cream, powdered sugar, and vanilla just until stiff peaks form, about 7-9 minutes.
- In a 13×9 pan or 3-quart dish, add a single layer of Oreos, breaking them if necessary to fit. Top with 1/2 of the whipped cream. Repeat layers, ending with whipped cream.
- Cover and refrigerate for at least 6 hours or overnight until the cookies are softened.
- To serve, top with crushed cookies or your choice of chocolate chips, caramel, or nuts.
Notes
Chill the mixing bowl and beaters for best whipped cream results. You can substitute homemade whipped cream with whipped topping if desired. For quicker assembly, dip cookies in milk before layering.
- Prep Time: 20
- Cook Time: 30
- Category: Dessert
- Method: refrigerating
- Cuisine: American
Nutrition
- Serving Size: 1 slice
- Calories: 497
- Protein: 5g


